
by Claire Anderson, CPDT-KA, FDM, CSAP-BC
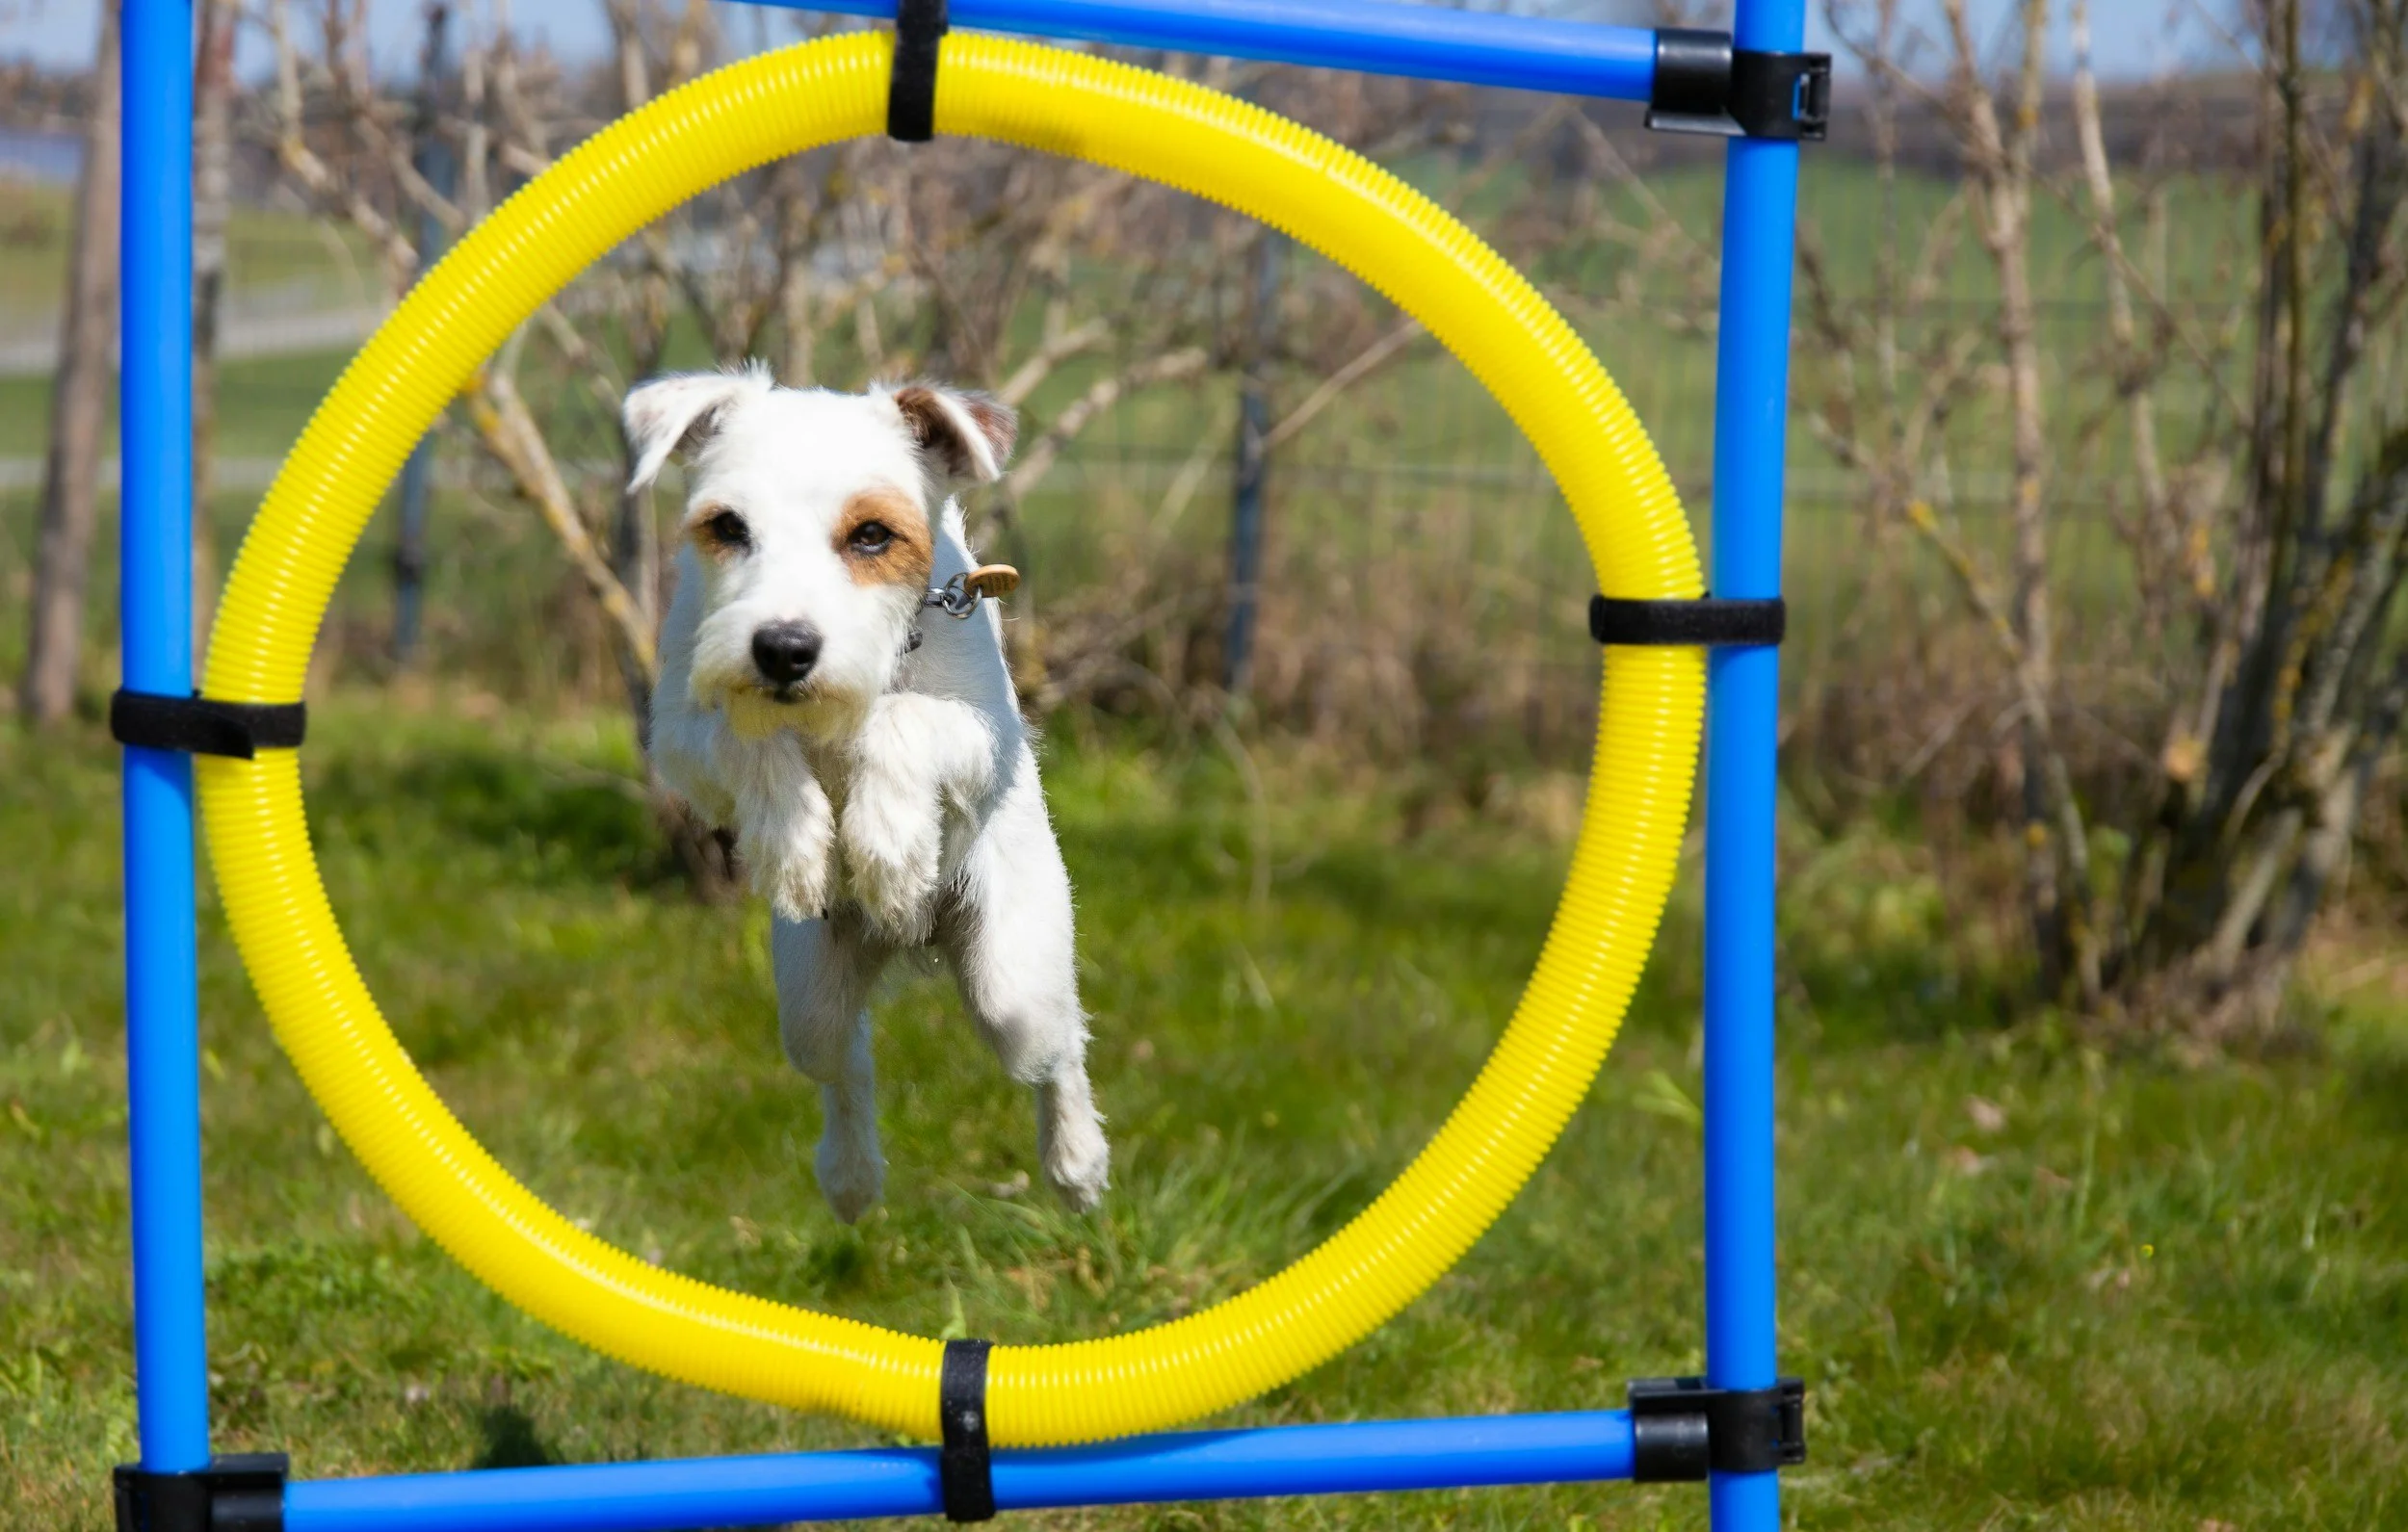
Dog agility is an exciting and rewarding activity that keeps your furry friend fit, mentally stimulated, and entertained. It’s also a great way to bond with your dog! But you don’t have to head to a professional course to enjoy this sport. With a bit of creativity and some simple materials, you can build your own DIY dog agility course right in your backyard.
Here’s a comprehensive guide on how to create an agility course that’s safe, fun, and challenging for your dog.
Why Build a DIY Dog Agility Course?
Cost-Effective: Professional agility equipment can be pricey, but making your own can save you money.
Customizable: You can tailor the course to your dog’s skill level and physical ability.
Convenient: Practice agility training at home without having to travel to a facility.
Basic Components of a Dog Agility Course
Before you get started, it helps to know the basic components of a standard agility course. Here are the most common elements:
1. Jumps
2. Weave Poles
3. Tunnel
4. A-Frame
5. Teeter-Totter (Seesaw)
6. Pause Table
Now, let’s explore how to create each of these using simple DIY materials.
Materials You’ll Need
PVC pipes
Cones or sturdy buckets
Hula hoops
Pool noodles
Wooden planks
Screws and drill
Duct tape
Plastic garden fencing
Sandbags or stakes
Jumps
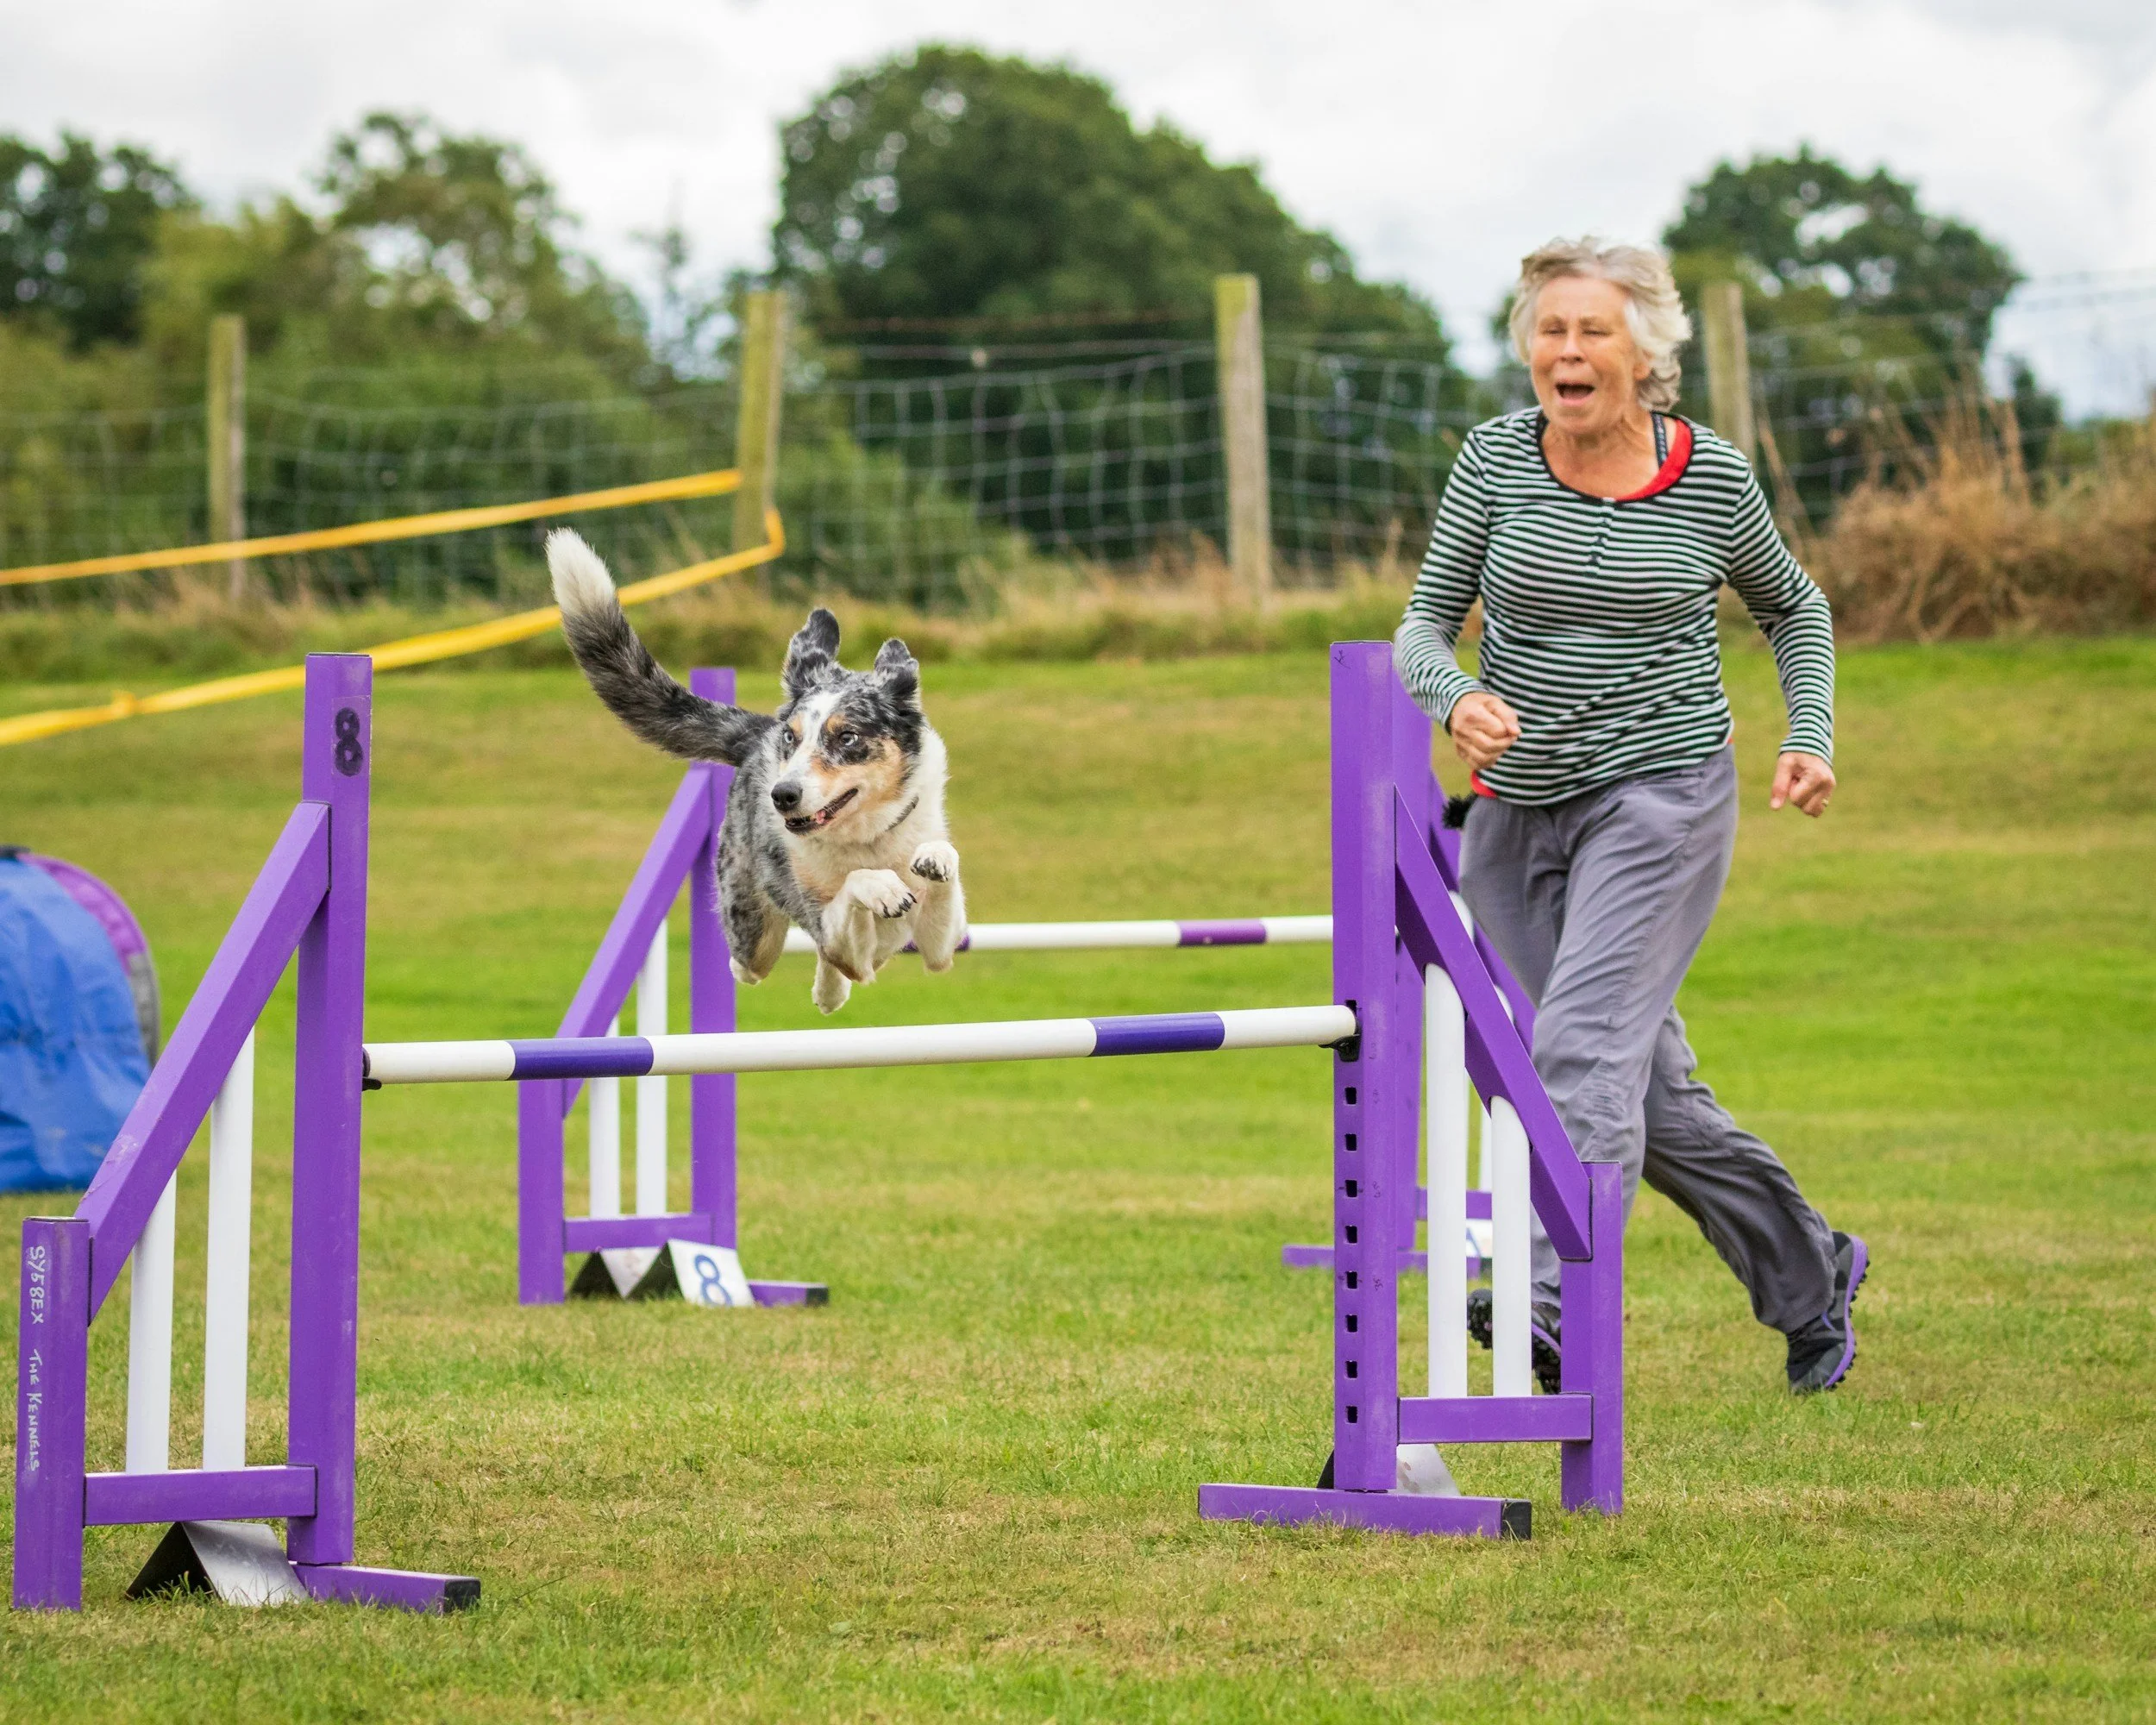
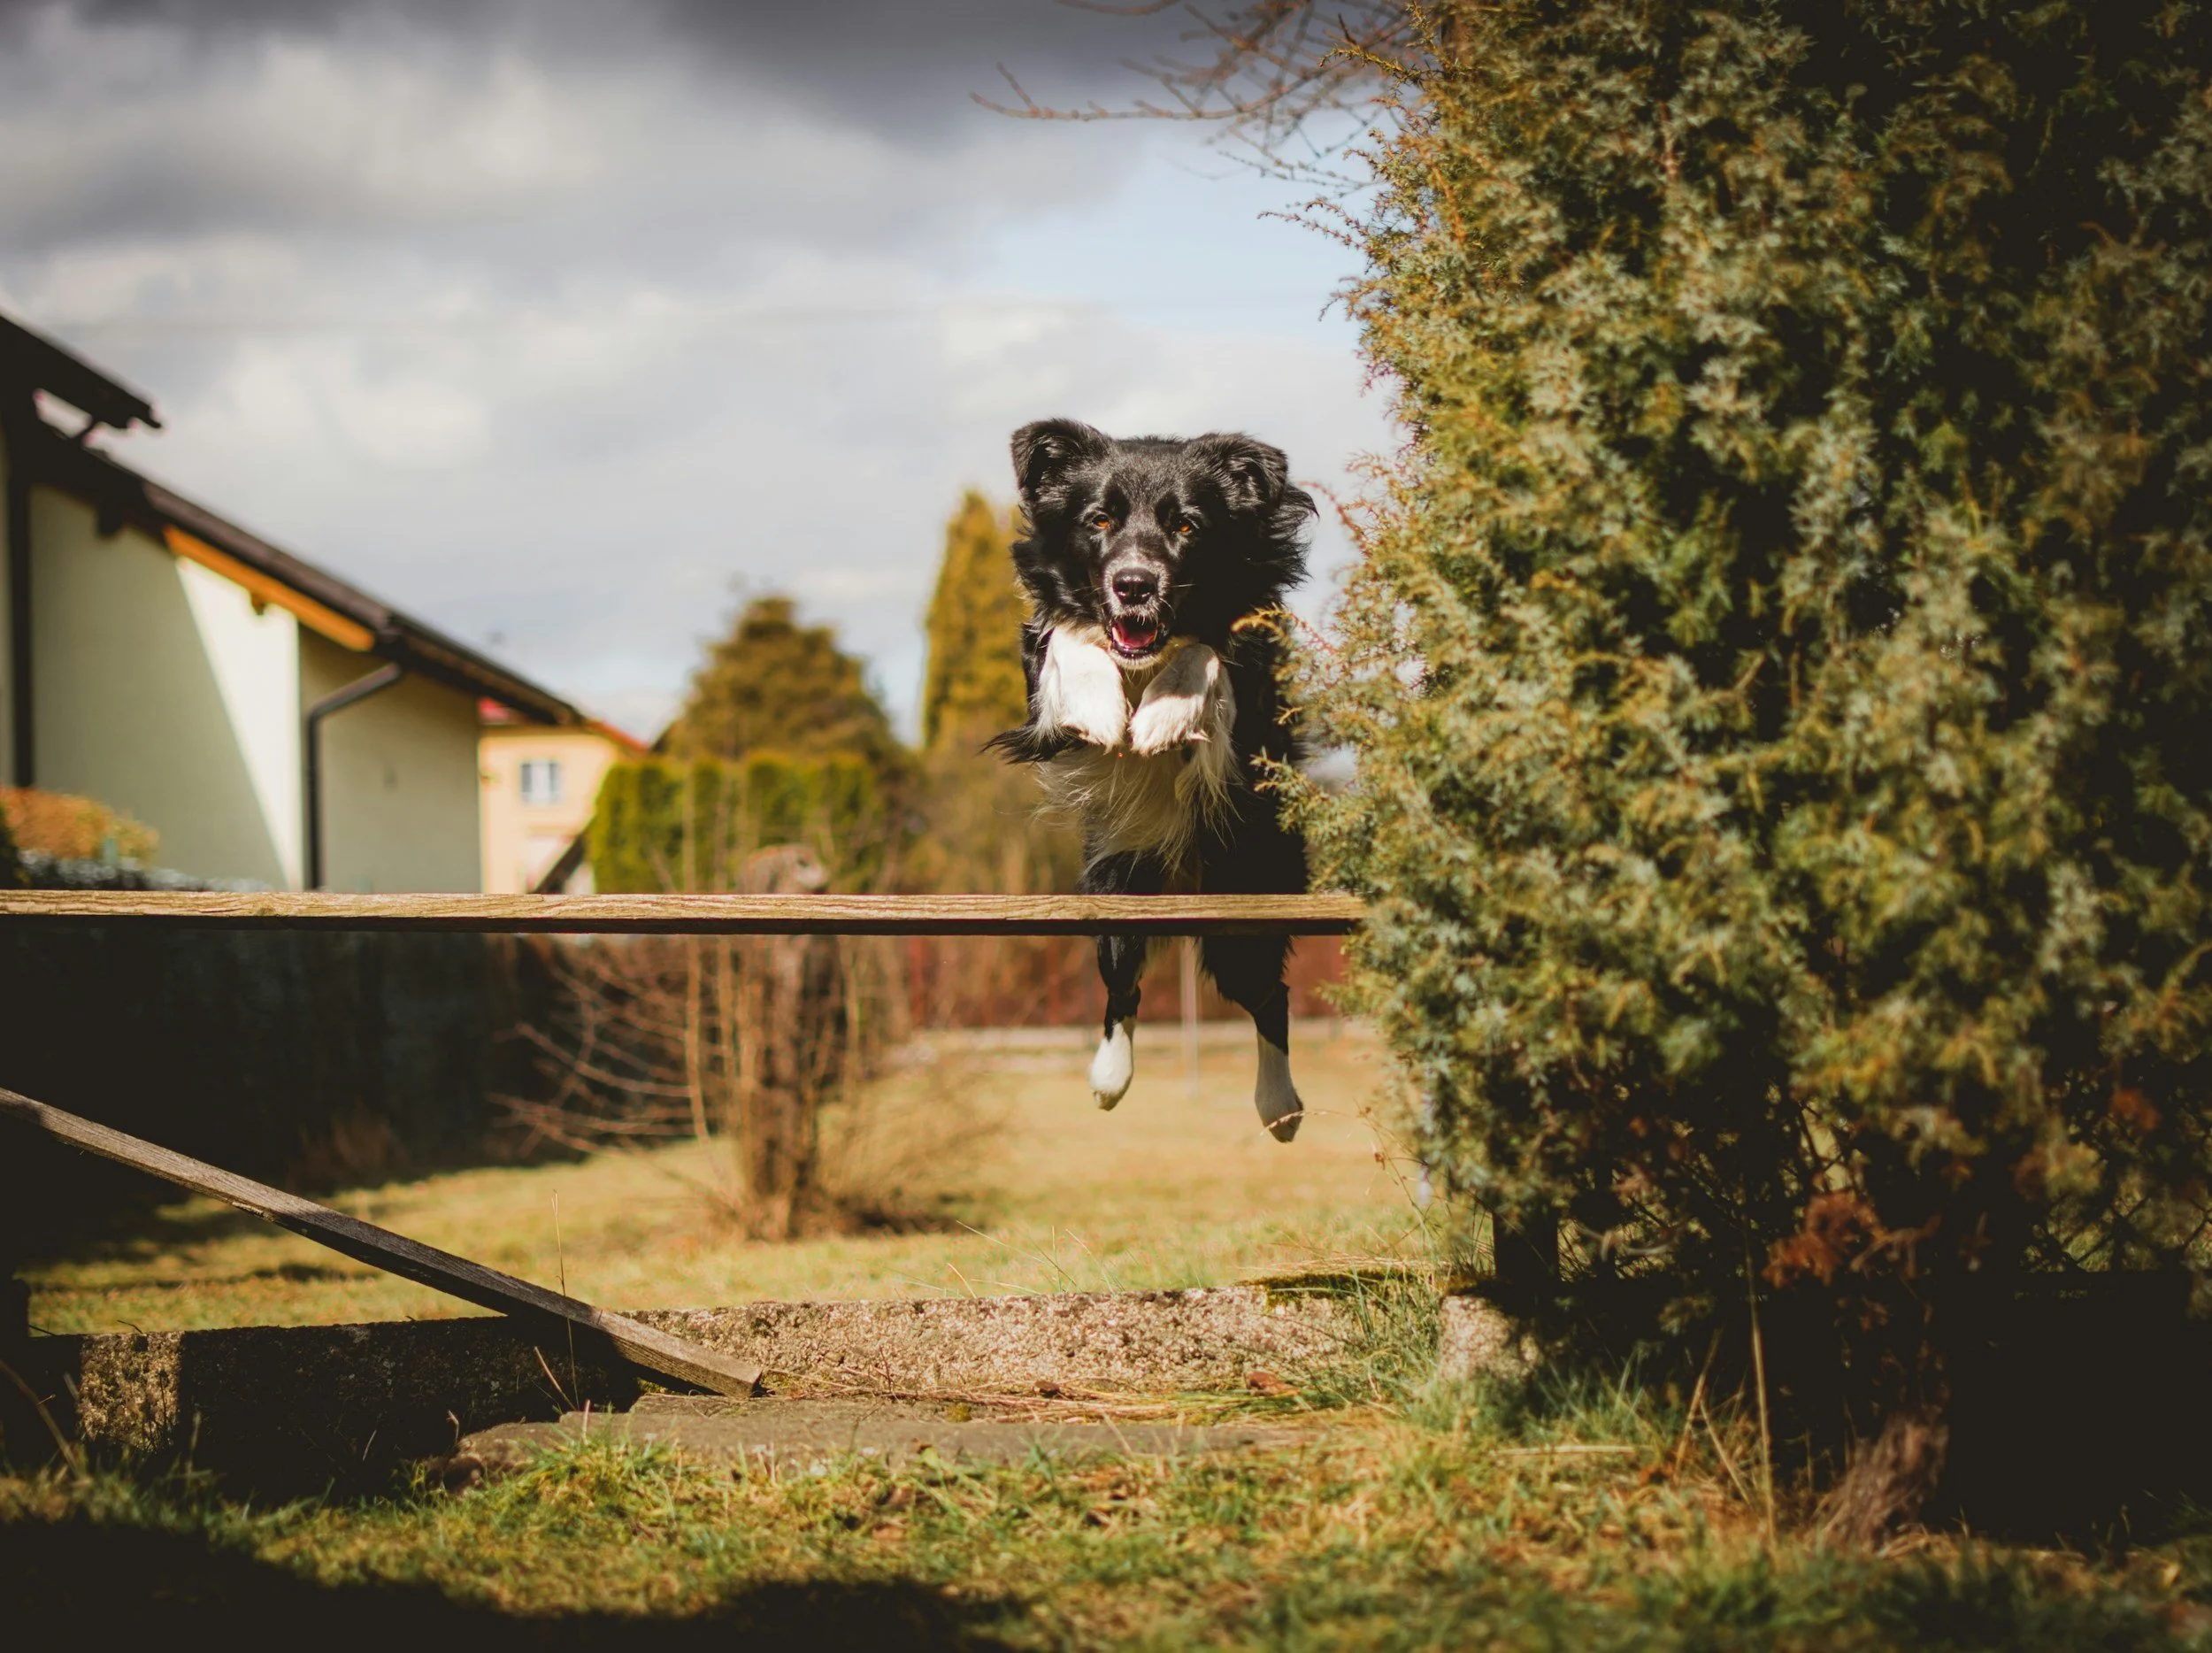
Jumps are a fundamental part of agility courses. You can easily create adjustable jumps that cater to your dog’s height and experience level.
Materials
PVC pipes (for the bars)
Cones or buckets (to hold the bars)
Pool noodles (for a softer, beginner-friendly option)
Instructions
1. Cut the PVC pipes to your desired length (a typical jump is around 3-4 feet wide).
2. Use cones or buckets to hold the ends of the PVC pipe.
3. Adjust the height of the bars based on your dog’s skill level.
4. If you’re just starting, consider using pool noodles for the bars as they are softer and less intimidating for dogs.
Weave Poles
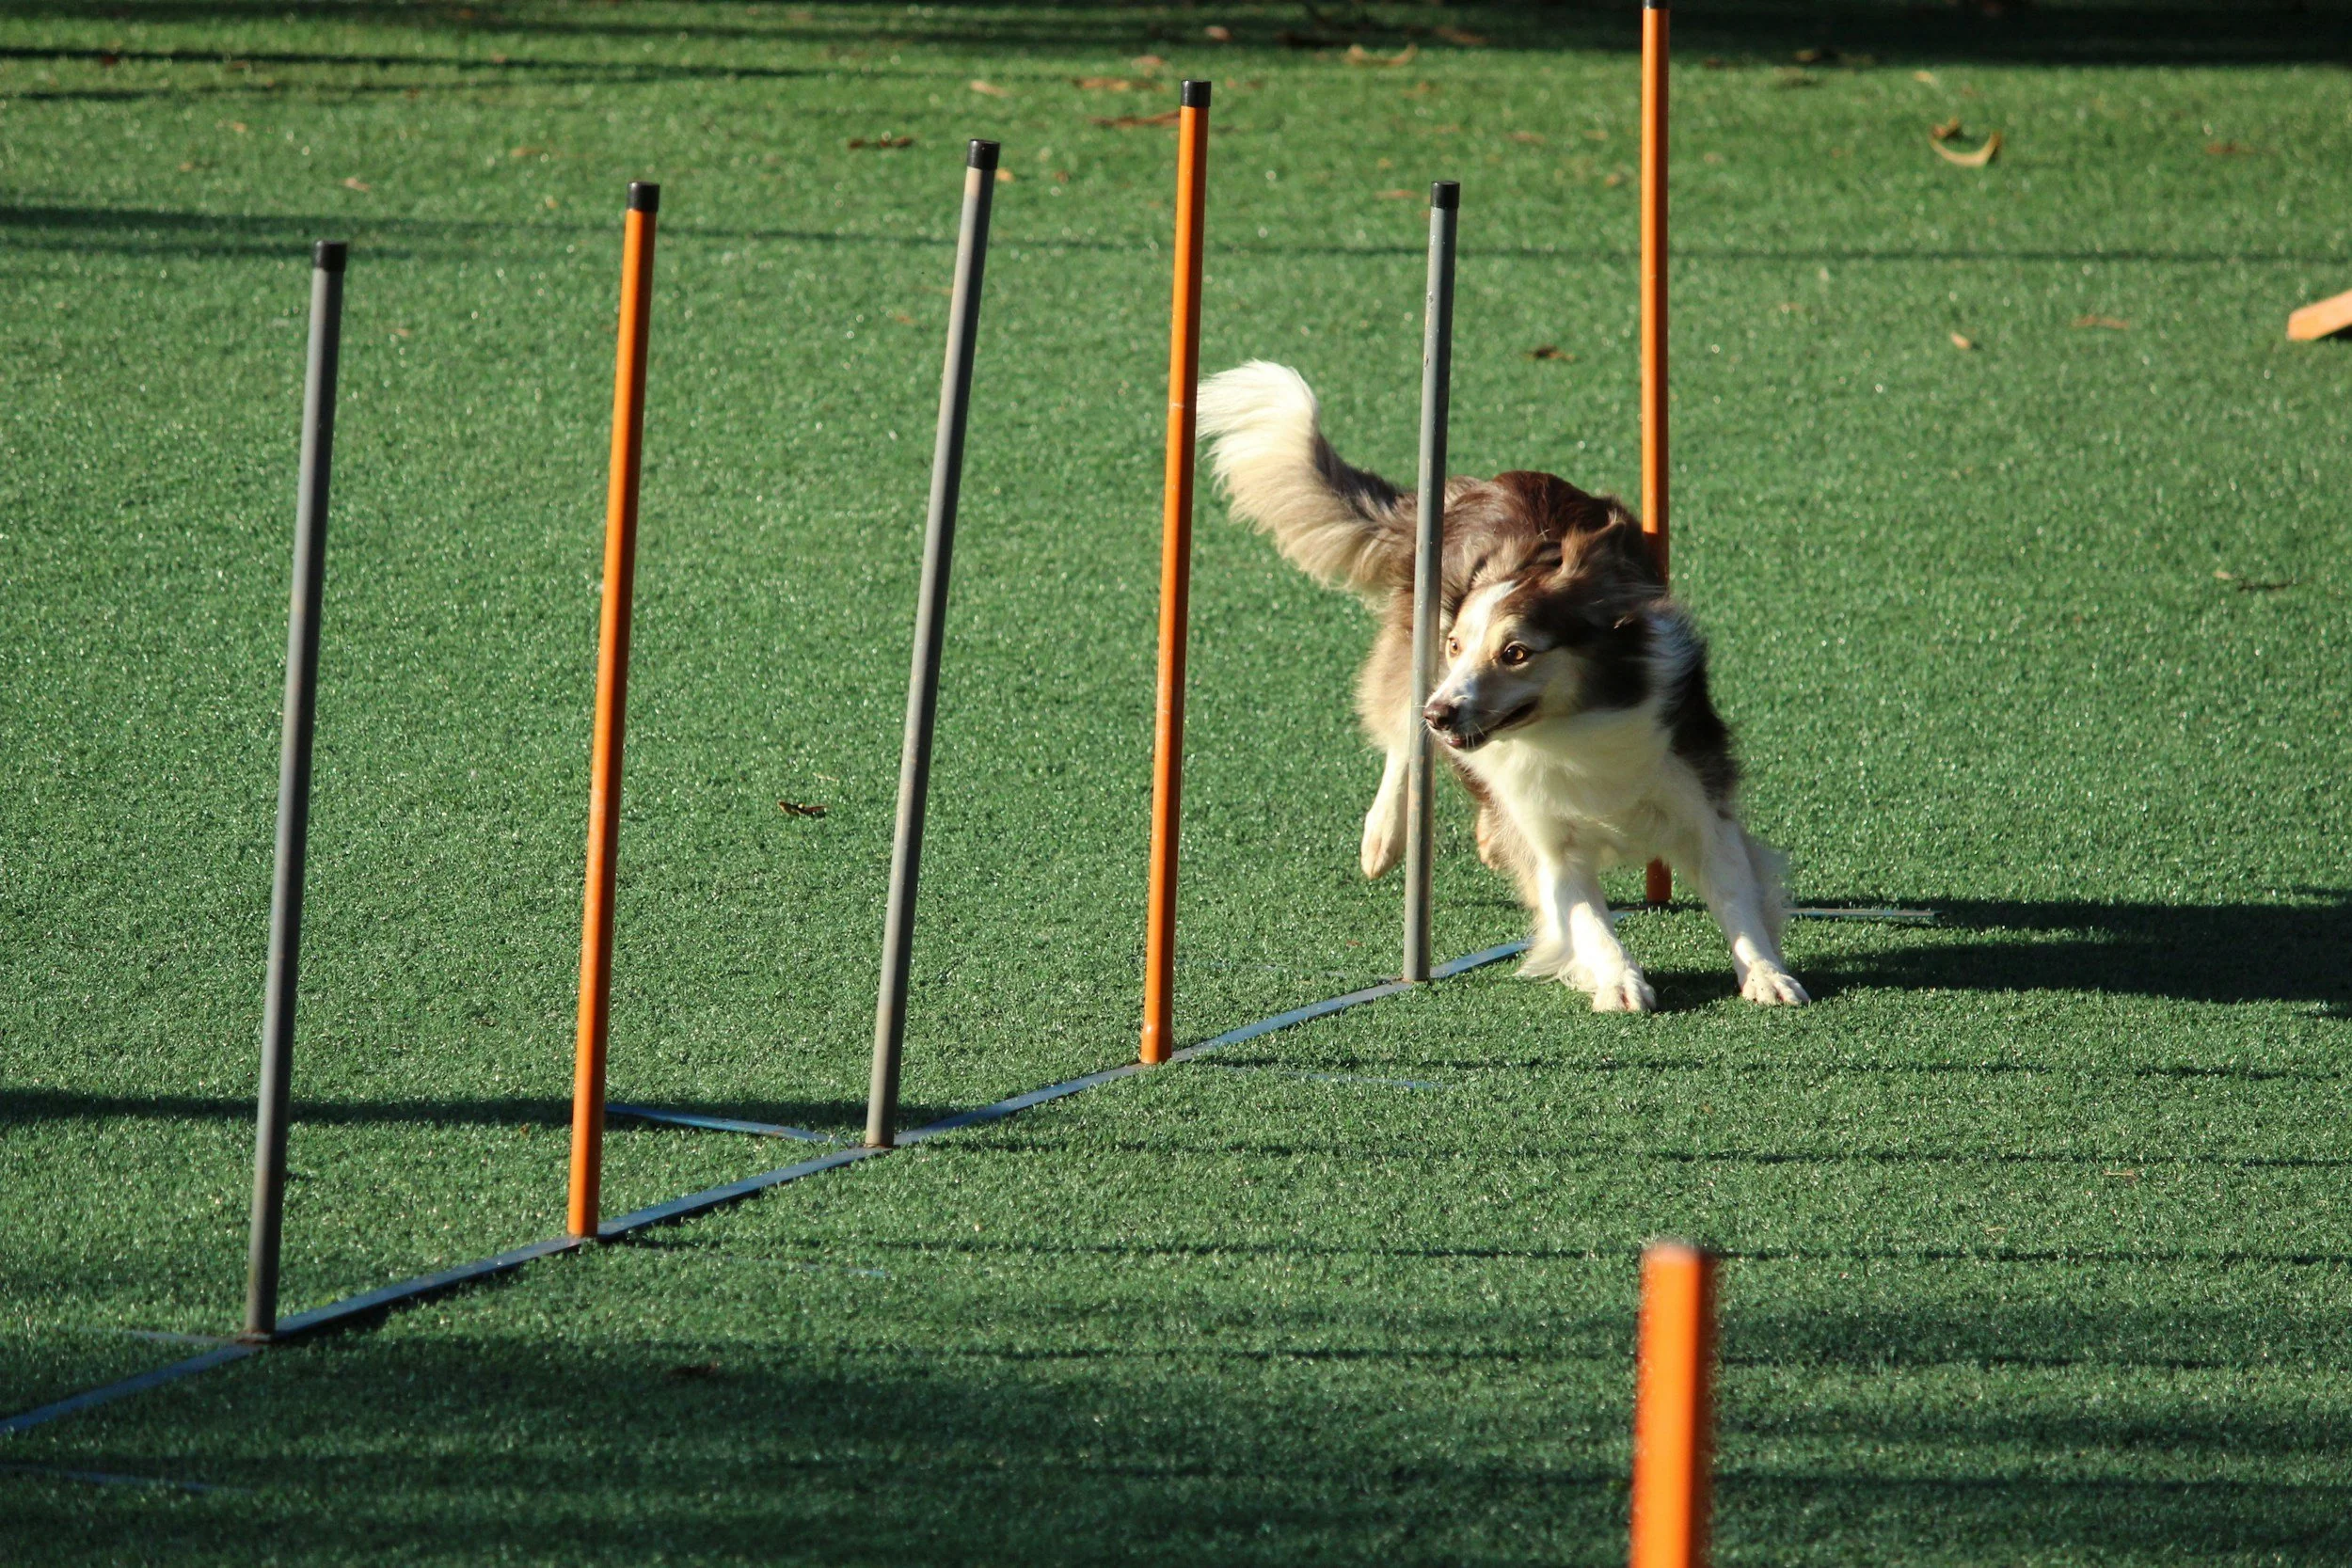
Weave poles are one of the trickiest parts of an agility course but are excellent for improving your dog’s coordination and focus.
Materials
PVC pipes or tall garden stakes
Plastic garden fencing or stakes to secure them in place
Instructions
1. Insert PVC pipes or garden stakes into the ground, spaced about 18-24 inches apart.
2. Make sure they are secure and can withstand your dog weaving through them.
3. To start, guide your dog through the poles on a leash, rewarding them for correct moves.
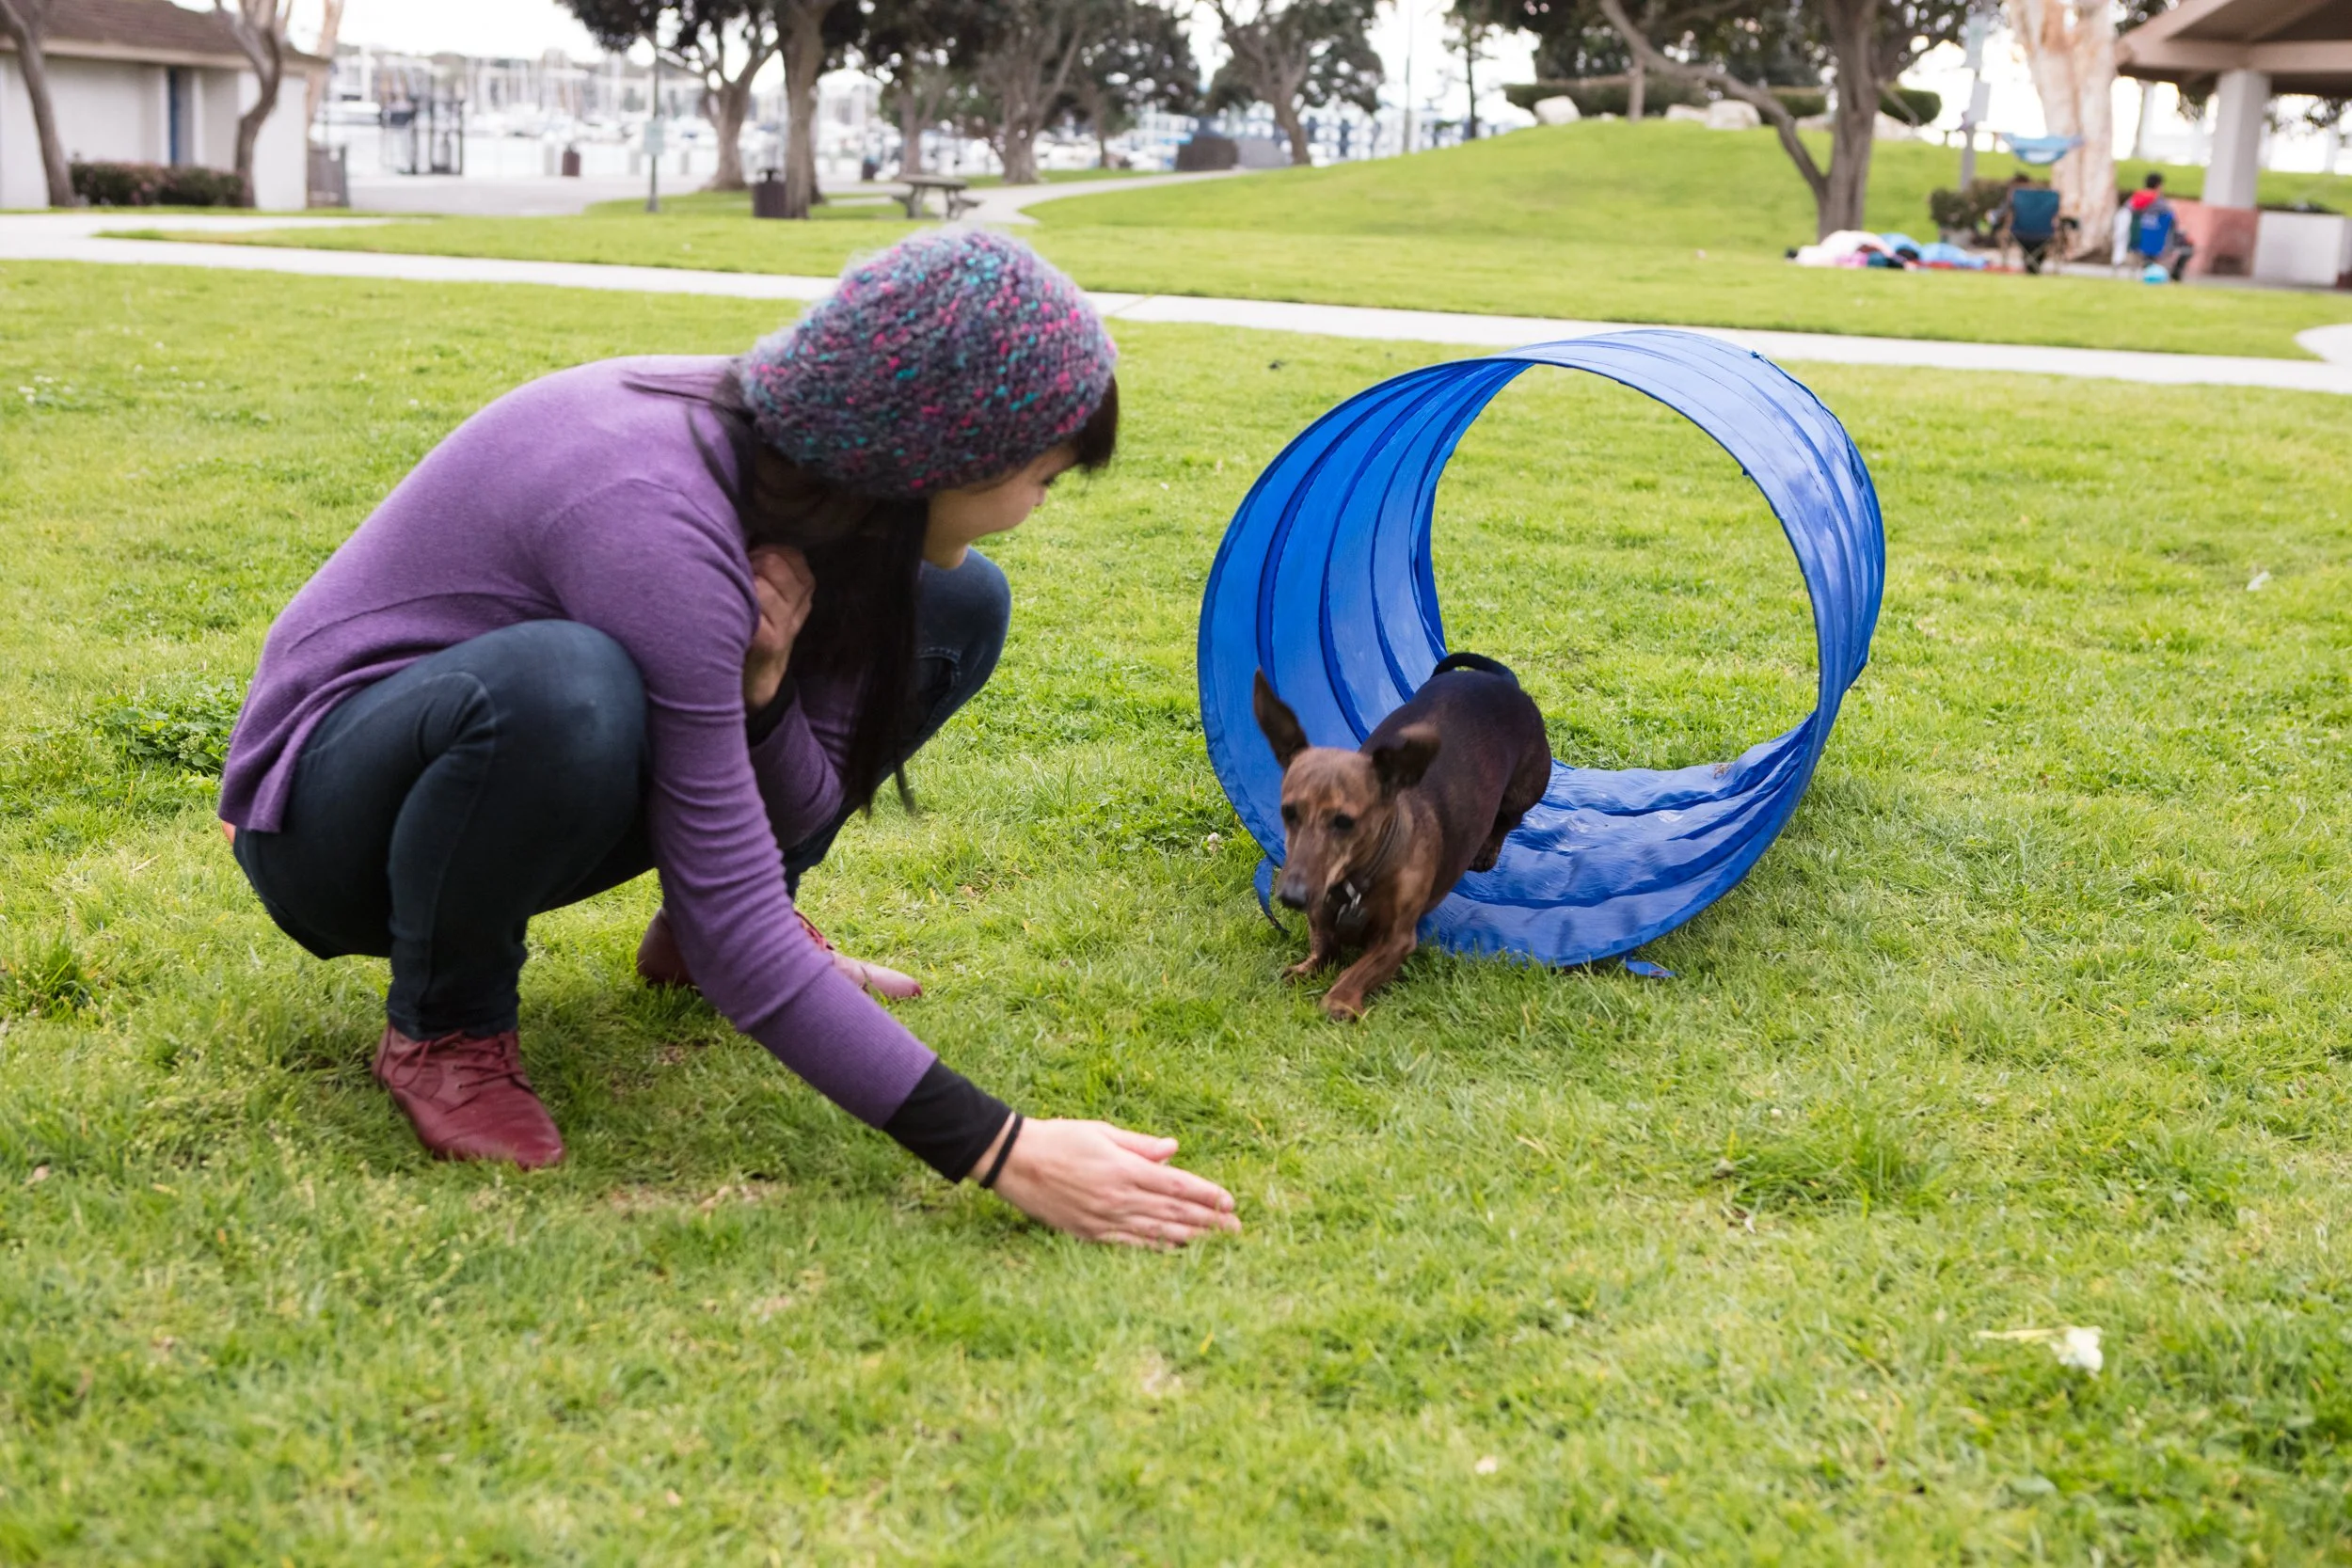
Tunnel
Tunnels are exciting and a great way to build your dog’s confidence.
Materials
Flexible plastic garden tunnel or collapsible children's play tunnel
Sandbags or stakes (to keep the tunnel in place)
Instructions
1. Choose a tunnel that’s wide enough for your dog to run through comfortably.
2. Place sandbags or stakes on either end to prevent the tunnel from moving during use.
3. Encourage your dog to go through the tunnel by leading them with a treat or toy.
*For an easier option, you could use chairs and a sheet!
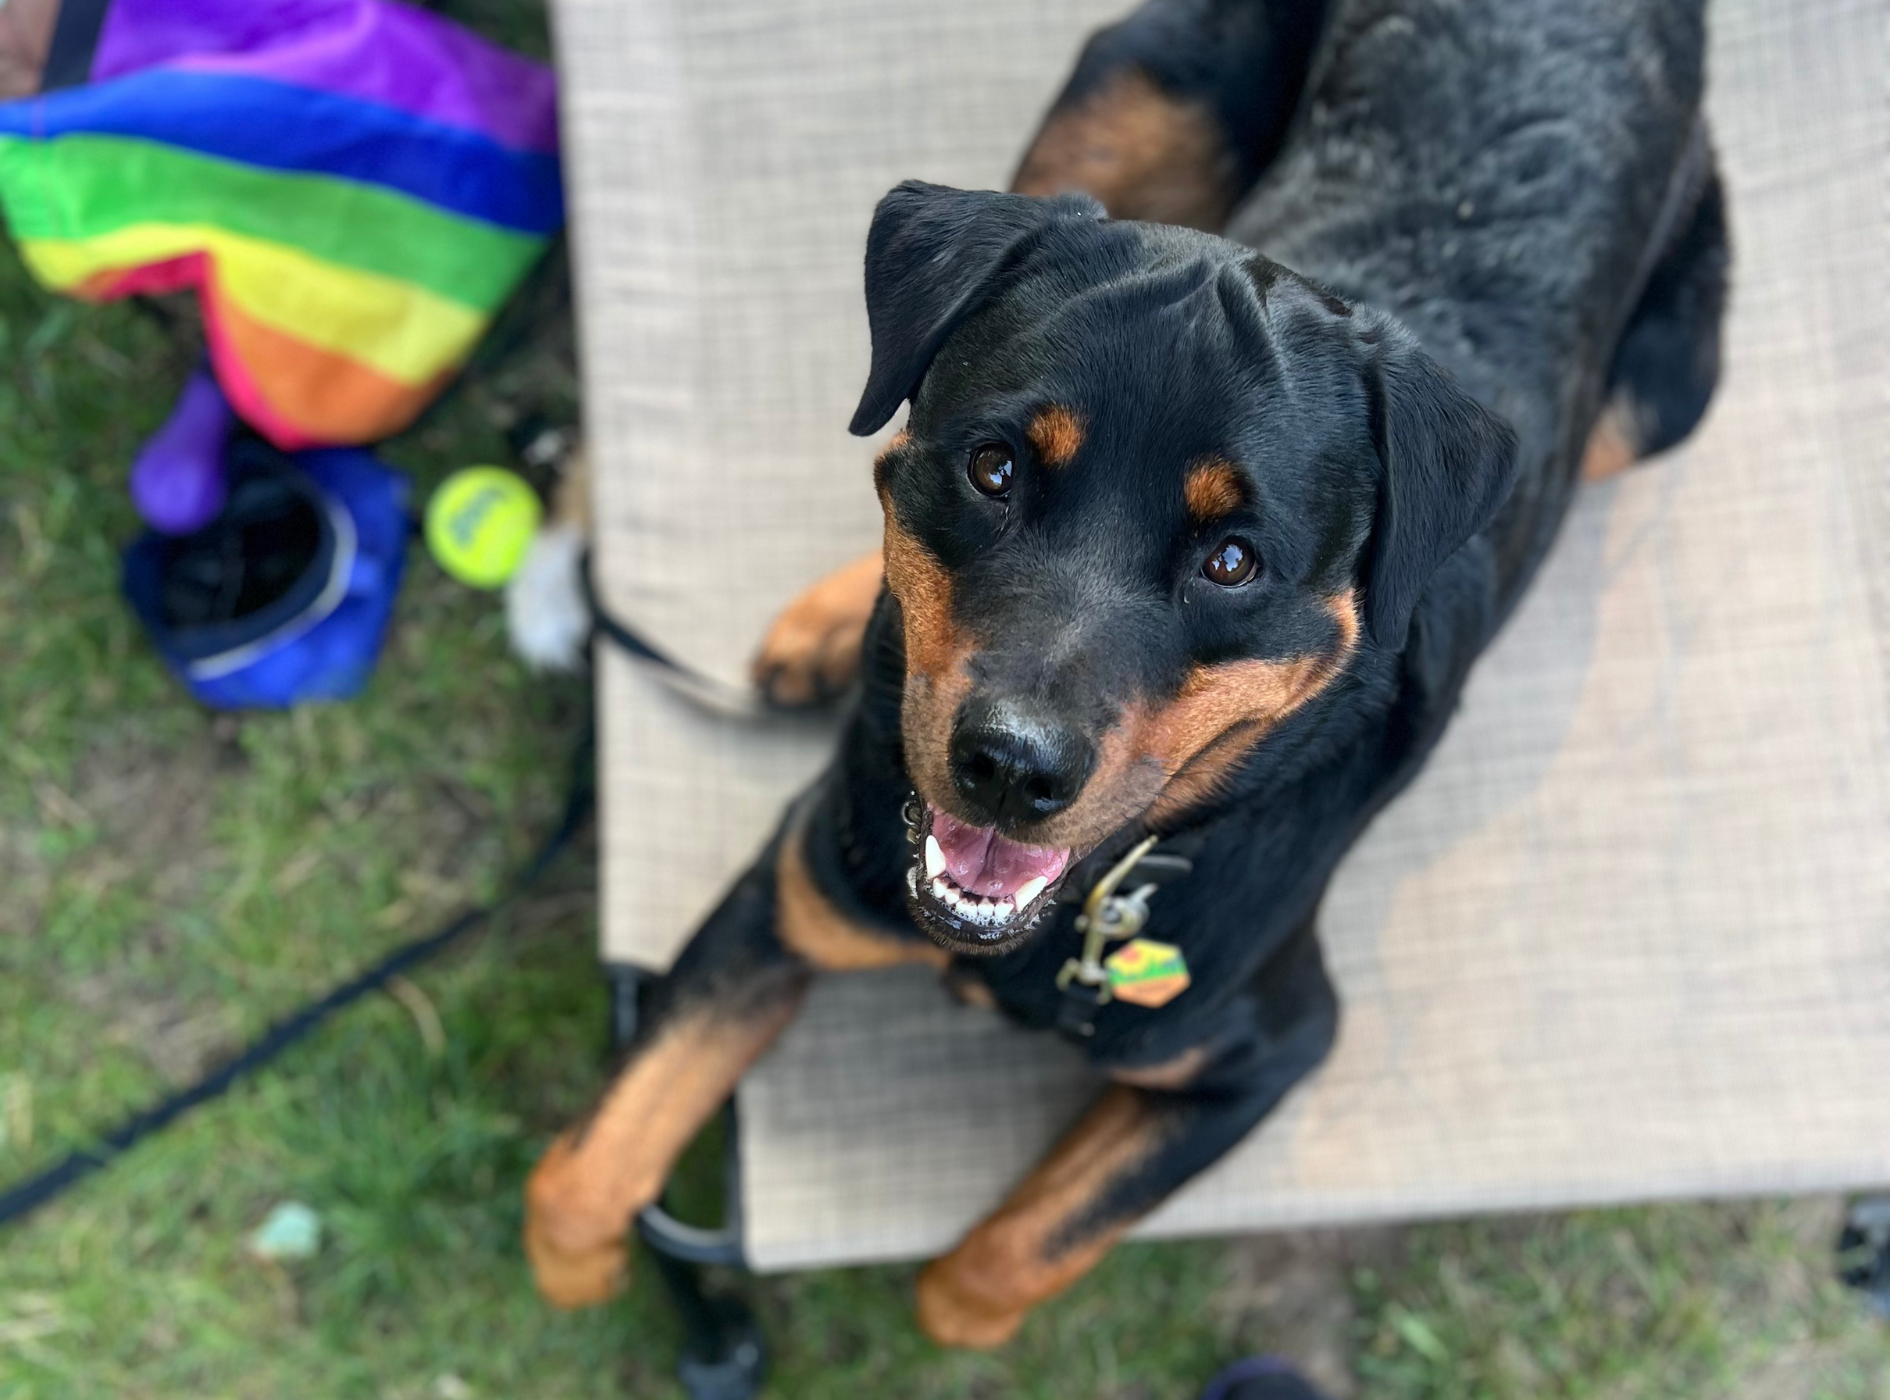
Claire and her soul dog Miles Davis
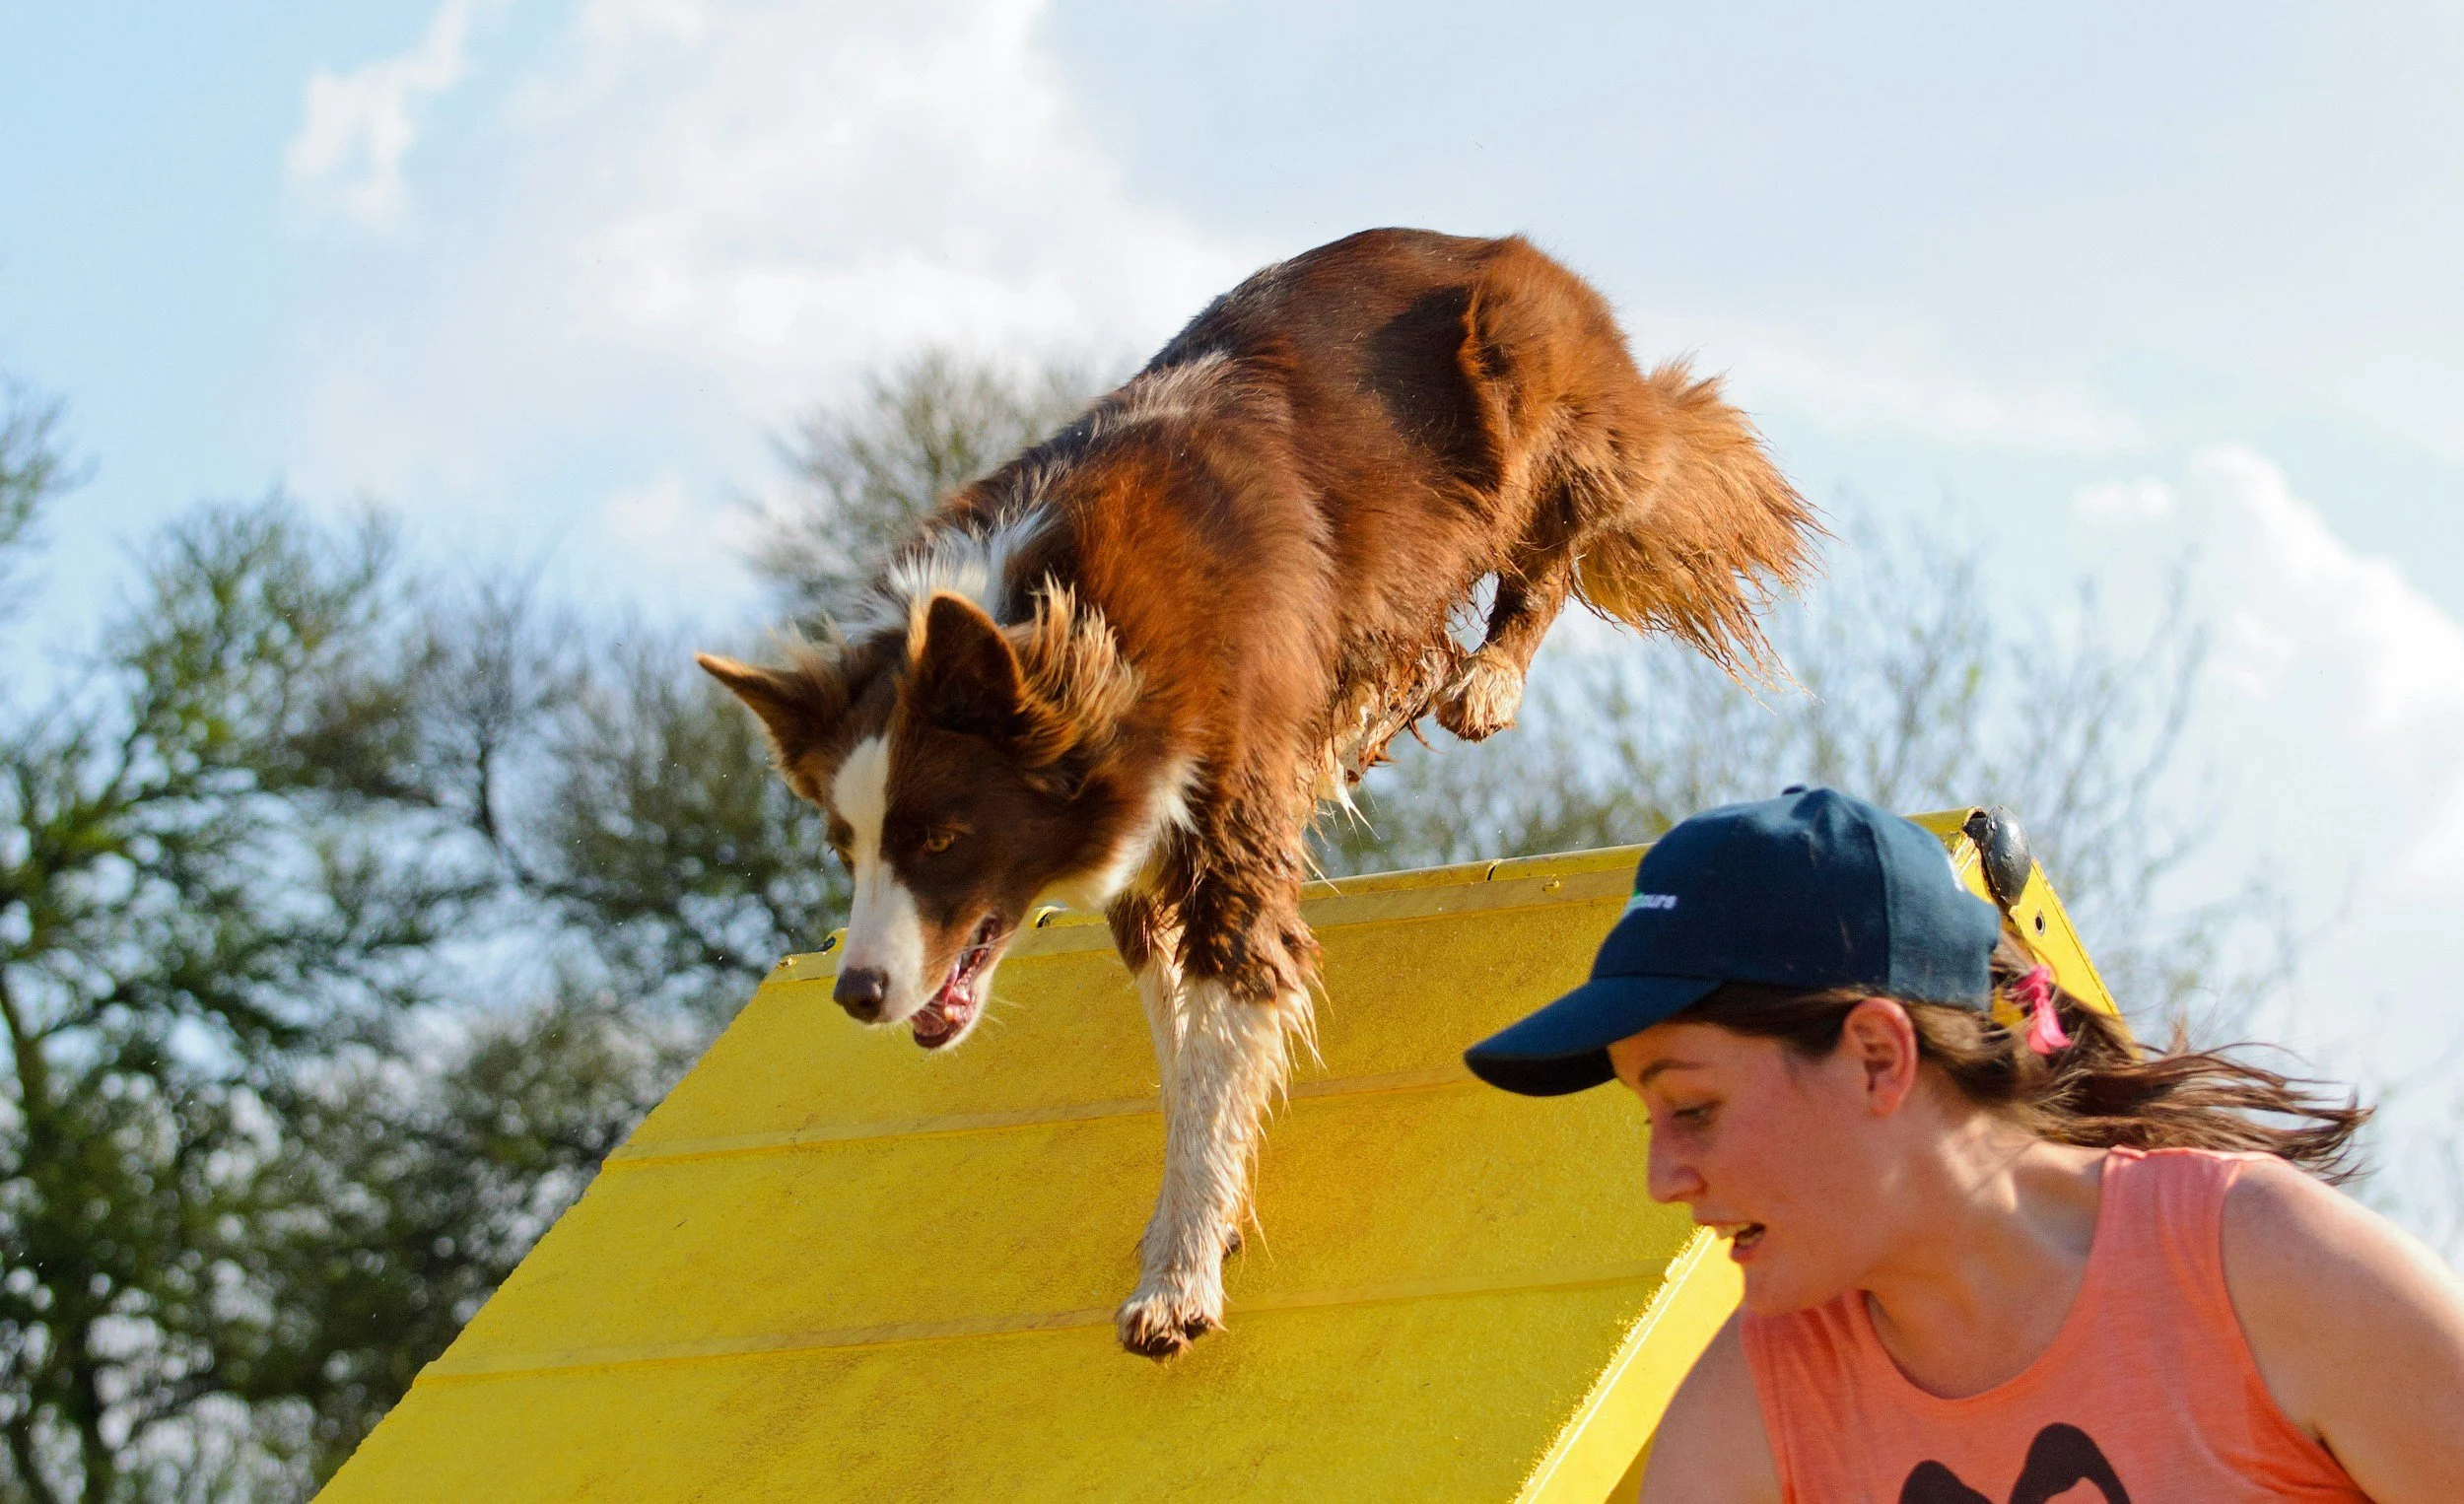
A-Frame
The A-frame is a ramp that your dog will climb up and down. It can be a bit more challenging to build but offers great physical exercise.
Materials
Two wooden planks (8-10 feet long)
Hinges
Non-slip surface (like rubber matting or outdoor carpet)
Instructions
1. Attach the two planks together at the top with a hinge, allowing them to open into an “A” shape.
2. Cover the planks with a non-slip surface to ensure your dog doesn’t slip.
3. Secure the bottom of the planks to the ground for stability.
Teeter-Totter (Seesaw)
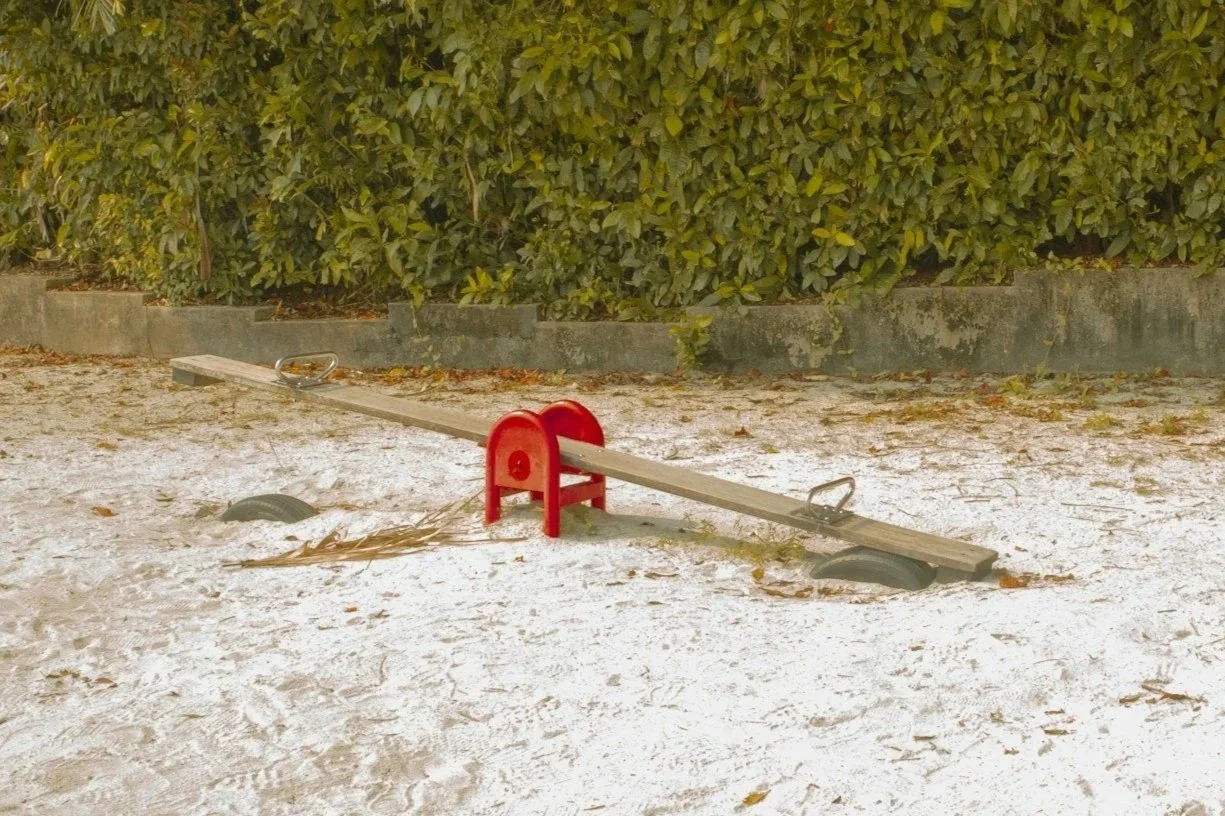
The teeter-totter helps improve your dog’s balance and coordination.
Materials
Long wooden plank (about 8 feet long)
PVC pipe (as the pivot point)
Non-slip surface for the plank
Instructions
1. Balance the wooden plank on a sturdy PVC pipe that will act as a pivot.
2. Ensure the plank is well-balanced and not too high off the ground, especially if your dog is new to agility.
3. Start by letting your dog walk across the plank while holding it steady.
Table
The pause table is where your dog takes a short break during the course. It’s also useful for practicing “stay”.
Materials
Small, sturdy table or platform
Non-slip matting
Instructions
1. Ensure the table is stable and can support your dog’s weight.
2. Cover the surface with a non-slip mat.
3. Practice having your dog sit or lie down on the table for a few seconds before moving to the next obstacle.
Setting Up Your Course
Once you’ve built the individual components, it’s time to set up your course! Here are some tips:
Start Simple: Begin with just a few obstacles and gradually add more as your dog becomes more confident.
Space It Out: Make sure there’s enough space between obstacles for your dog to move comfortably.
Use Treats and Toys: Encourage your dog to try new obstacles by using treats or their favorite toys as incentives.
Keep Training Sessions Short: Training should be fun, so keep sessions short and rewarding.
Safety Tips
Check Equipment Regularly: Make sure all obstacles are secure and free of sharp edges.
Use Non-Slip Surfaces: For ramps and tables, use materials that provide good traction to prevent slipping.
Know Your Dog’s Limits: Always keep an eye on your dog’s health and energy level. Don’t push them to do more than they are comfortable with.
Building your own DIY dog agility course is a fantastic way to keep your dog active, mentally sharp, and happy. Plus, it’s a fun project that doesn’t have to break the bank! With just a few materials and some creativity, you can create a personalized course that you and your dog will enjoy for years to come.
So, grab your tools, get outside, and start building!
Want help teaching your dog agility? Schedule your free consultation!